15. 05. 2025
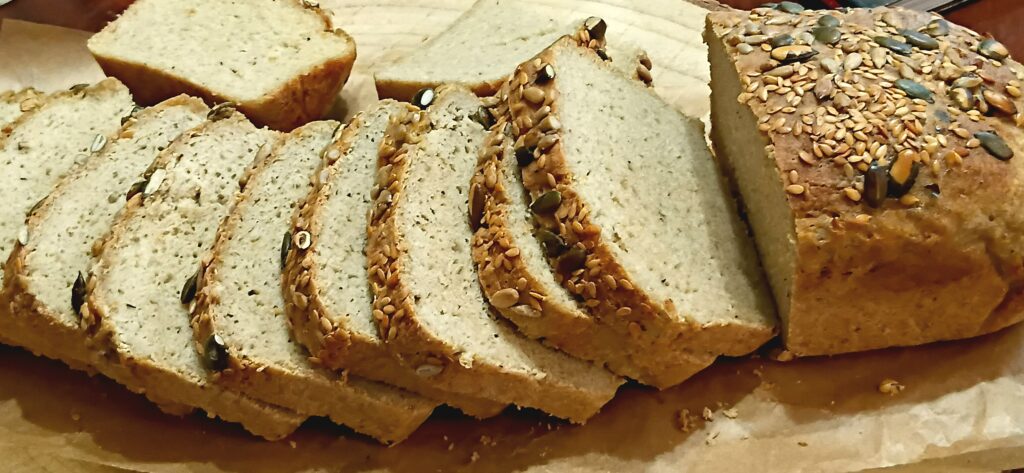
Gluten Free Sorghum/Jowar flour Bread
This gluten-free Sorghum flour bread is soft, fluffy, tender and very mild in flavor.
This recipe is a respite for those who are gluten intolerance.
You can make it as a vegan bread too. Use oil instead of milk/butter/whisked egg on the top layer to sprinkle the seeds (Step-7 later in the recipe).
Sorghum flour is not the same as millet flour which are available these days in local supermarkets.
These bread loaves are great for toast and sandwiches.
Now to the recipe.
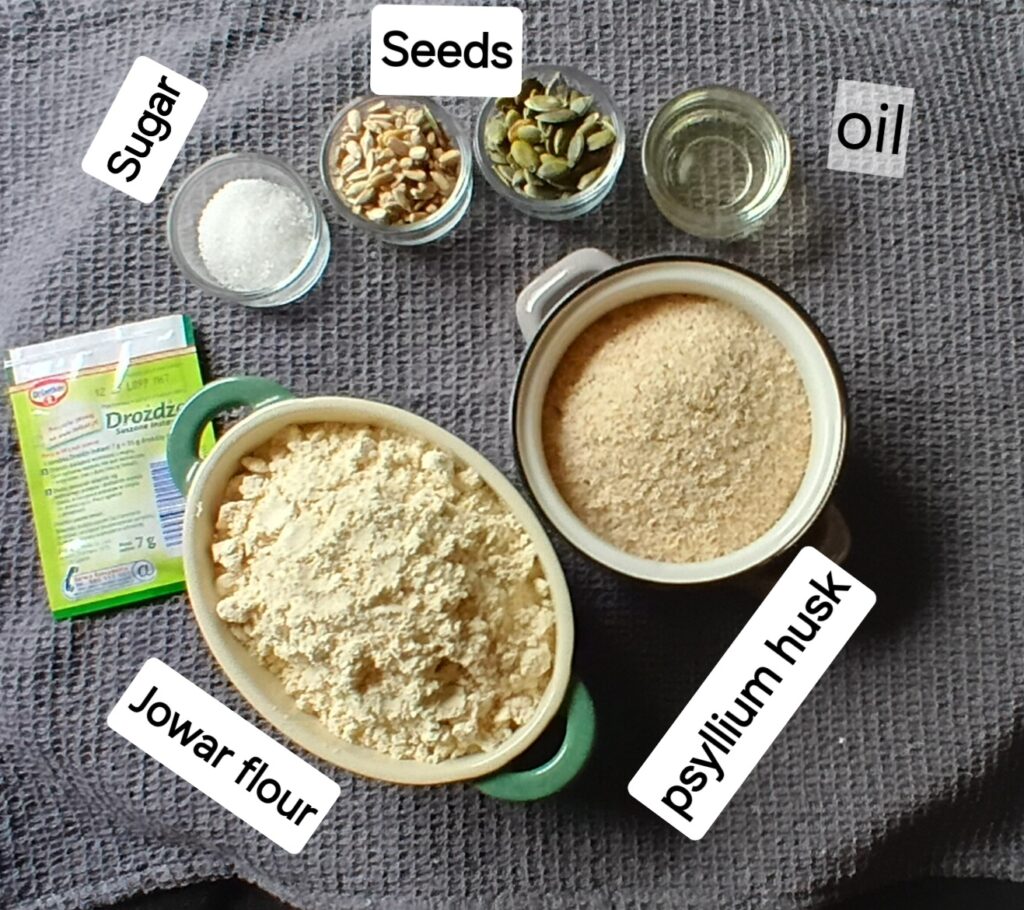
Ingredients
Sorghum Flour – 450gms
Whole Psyllium husk – 30gms
Instant Yeast – 7gms
Sugar, Honey /Maple syrup – 15gms
Baking powder – 1tspn
Warm water/Room temperature – 600ml
Oil – 20ml
Salt to taste
For topping
Seeds of choice (Sesame seeds, Flax seeds, Sunflower seeds, Sesame seeds etc).
Instruction
1. In a medium size bowl add the water and psyllium husks and whisk it well. Set aside for a couple of minutes to let it set to a gel consistency.
2. Mix the flour, sugar, salt, instant yeast and baking powder and combine well in a large bowl.
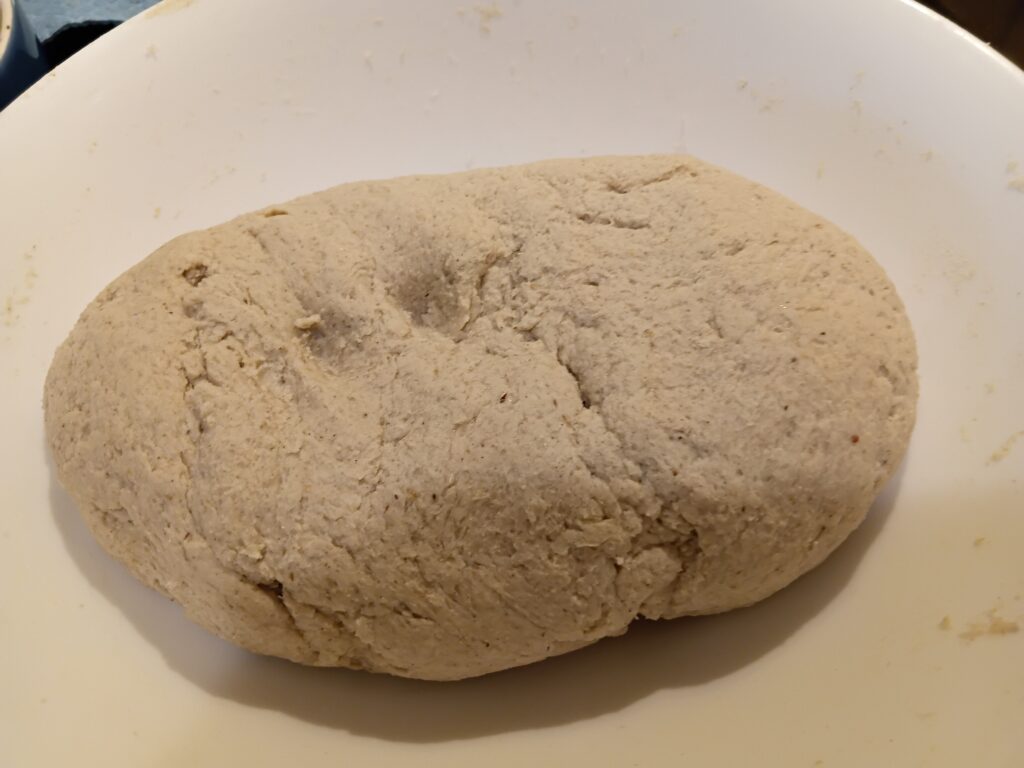
3. Add the psyllium gel and oil with the dry ingredients (step 2) and mix well to form a smooth dough.
The longer you mix, the softer and smoother the loaf will end up. You can use an electric mixer with dough hooks or simply mix by hand.
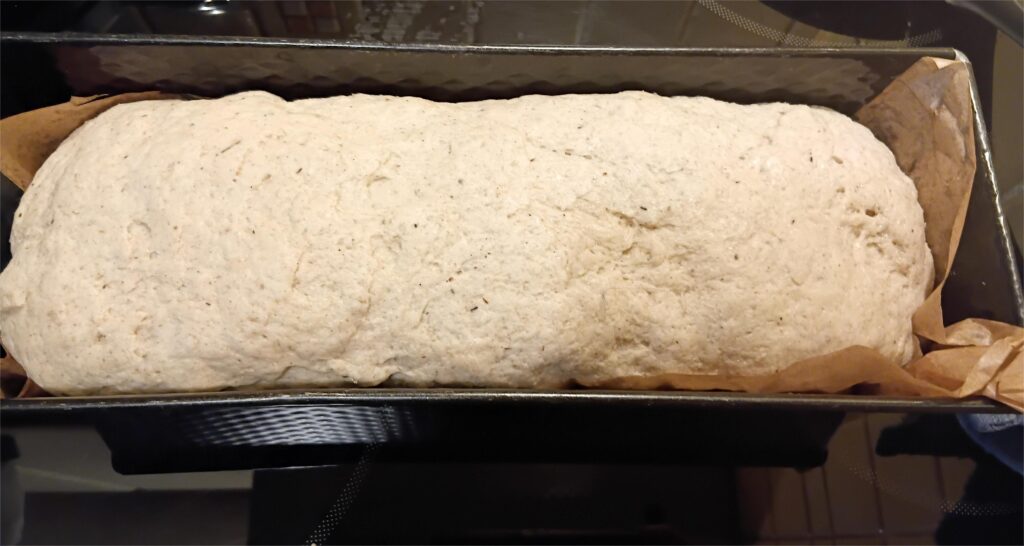
4. Line a 9 X 5inch metal loaf pan with parchment paper and transfer the dough for proofing.**Use only Aluminum, cast iron or ceramic pans.
5. Level the dough in the tin and cover it with kitchen towel for it to rise.
Leave it to rise until it comes up to the pans rim or it will collapse while during baking.
6. Preheat the oven at 175 degrees for 20 minutes when the dough is rising.
7. Brush the top of the loaf with oil (vegan option) or with milk or butter (Non vegan option) and sprinkle the seeds on top.
This will prevent them from falling off the loaf after baking.
8. Bake the bread for 45 minutes and check if its baked by inserting a tooth pick.
If the tooth pick comes out clean and if the top layer is not evenly browned then remove it apply some more oil/butter and bake it for another 10 minutes.
Take it out when its done and let the loaf sit in the pan/tray for 5-10 minutes. Then remove the loaf from the pan and transfer it to a cooling rack.
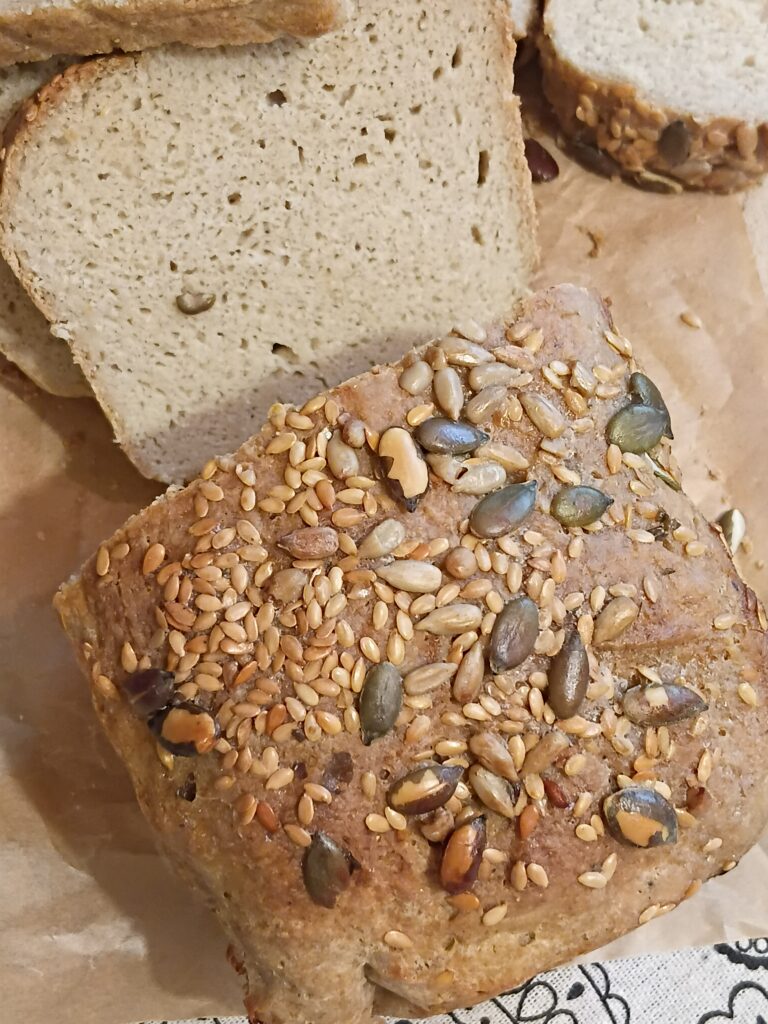
Slice the bread only when it has cooled down completely. Enjoy!!
Notes
You can store this bread in the bread box or air tight container at the room temperature for 2 days.
Leave it in the fridge after that and it will remain fresh for another 5 days.
Tips
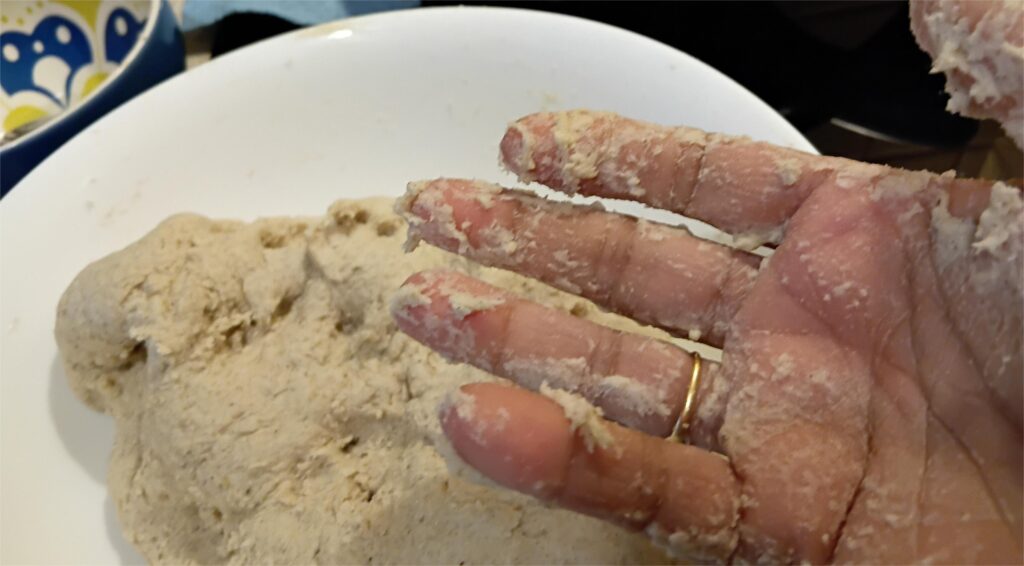
1. Do not add extra flour to the dough even if it seems wet. You will get the correct texture when you mix longer. Look at the pic down when I started mixing and compare with the second pic above (after Step 3)
2. Wait for the bread to cool completely before slicing or it will end up gummy.
3. Use a kitchen scale to measure the ingredients instead of cups.
Happy Baking:-)
Please leave your valuable comments after trying this recipe.